How to use Communigate
Logging in to Communigate
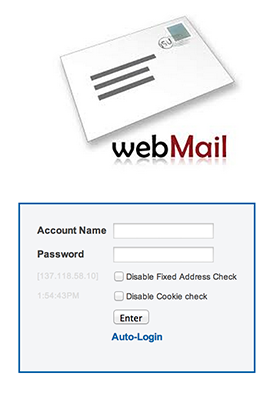
Browse to your webmail site (i.e. webmail.test.com). This will present you with a login page.
From the main login screen, you will type in your email address in the Account Name field, and password in the Password field. Click Enter.
Note: It is not necessary to put in your whole email address in the Account Name field. (ex. If your email address is testemail@test.com, in the Account Name field, you would simply type in testemail)
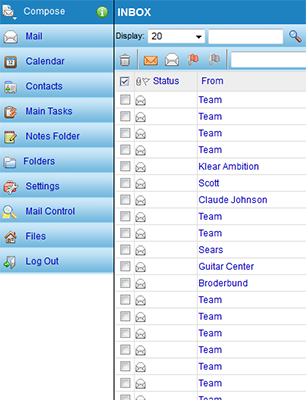
Home Screen View
Once logged in, you will see the main Home Screen view. This view will allow you to navigate the different screens of the Communigate system.
Your options will be the following: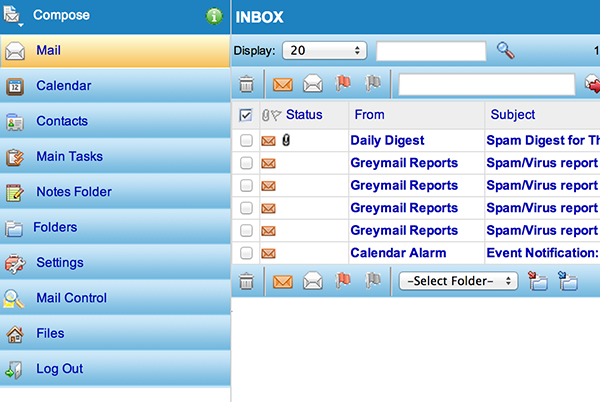
- Calendar
- Contacts
- Main Tasks
- Notes Folder
- Folders
- Settings
- Mail Control
- Files
- Log Out
In this guide, we will cover the following:
- Contacts
- Folders
Open message view
When you open an email, you will see the following options at the top of the message. If you hover your mouse over these icons, they will provide a description of what the icon does.

From left to right:
- Delete
- Reply
- Reply All
- Forward
- Redirect to…
- Delete and Next
- Next
- Delete and Next Unread
- Next Unread
- (Red X) Close message, and return back to Inbox
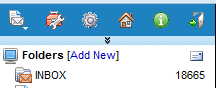
Viewing Folders, including Sent and Trash
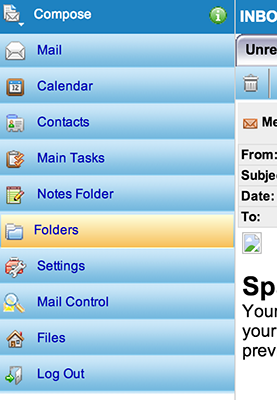
Click on Folders, and you will see the following:
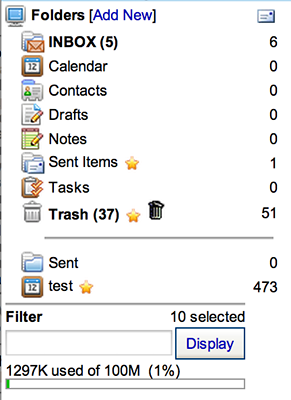
From here you will be able to see your folders in your email, including any folders you had previously set up. You will also be able to see your Sent and Trash.
Viewing Contacts
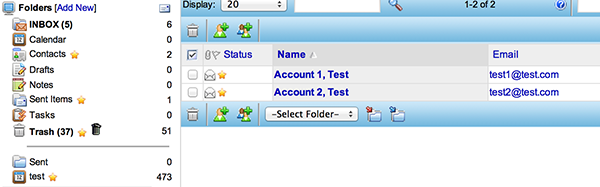
You can view your contacts from clicking Contacts on the left side of the main home view, or by clicking on Contacts under Folders.
Your contacts have been imported over to the new Webmail platform.
To ADD a contact: Click on the person icon with the green shirt and the + symbol
To ADD a group contact: Click on the two person icon with green shirts and the + symbol

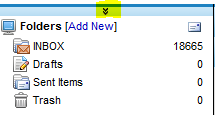
**To get back to the menu with the ‘blue’ background, click on the double down arrow right above ‘Folders [Add New]’
![]()
Other Shortcuts
When in ‘Folders’ mode, on the top of the left side menu you will see in this order shortcuts for: New Mail, Settings, Rules, Files, Help, and Log out.

![]()
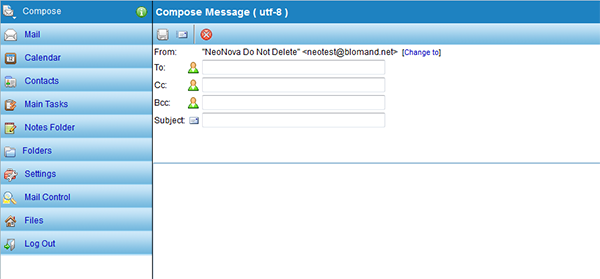
How to Compose a Message
To create an email, click on the “Compose” tab in the top left corner. This will bring up “Compose Message” and allow you to begin composing your email. You will see several options including:
- From (There is a “change it” option right next to the email address if you want to show a different from address
- To
- Carbon Copy (CC)
- Blind Carbon Copy (BCC)
- Subject Line
![]()
Adding a Contact to the email
You can add in your contacts to the email by simply clicking on the person icon in the green shirt. This will bring up a list of contacts, as pictured below.

Adding an attachment
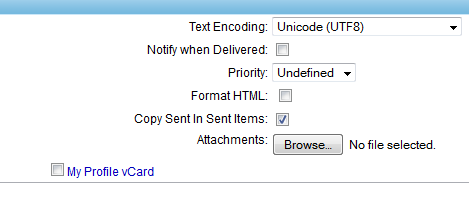
If you want to add an attachment, you will see the option to the right of the fields listed above. Here you can “browse” for files to attach. (Pictures, docs. pdf, etc)
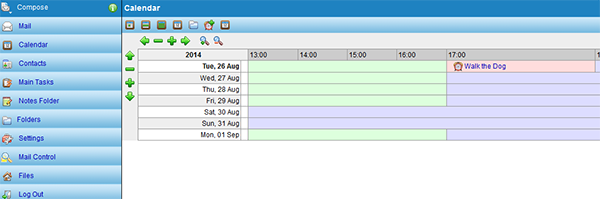
Setting Up Your Calendar
You will see several tabs across the top. You can use these tabs to change view type and add events. The tabs are as follows:
- Day View
- Week View
- Month View
- Schedule View
- Folder View (inbox view)
- New Event (add event)
- Mini Calendar View
You can use the green arrows to navigate the current calendar you are viewing. You will also notice the ability to zoom in and zoom out.
To Add an event to your Calendar
When you select the “Add Event” tab, you will see a “Compose Event” screen pop up. You will notice the ability to email the event to others you want to be invited.
- To (email)
- Optional (optional participation)
- Inform
- Where (location of event)
- Subject
To the right you will notice the ability to set the time and duration of the event. You can add an attachment to the invite by clicking the “browse” tab.

Adding Rules to your Messages
Rules are settings that perform actions automatically to specific messages such as store the message into a specific folder, or automatically delete a message. To create rules, go to ‘Folders’ then select ‘Rules’ on the shortcut on the top left corner.
![]()
This area of Rules also allows to set up Mail Redirection, Vacation Message, and Junk Mail Control. For now we will focus on creating Rules. To create a Rule, go to ‘Rules’ section and then ‘Add New’ section. Insert the name to this set of rules depending on the kind of messages you would like to be added to that Rule. Click ‘create.’
Once the Rule is added, select ‘Edit’ to add details for the messages you want sorted to that folder:
![]()
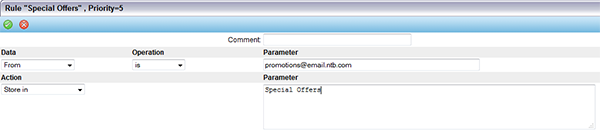
On the next screen, select the criteria you want the messages to be sorted by (Ex.: Rule by From, or Sender, or Subject, etc). Next, select ‘Operation’ treatment you want to give those messages (Ex.: is, or is not, or greater than, etc). In ‘Parameter’, set the details of the message you want to have it sorted by:

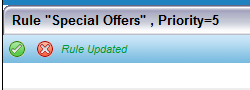
In the case above, all messages from ‘promotions@email.ntb.com’ should be stored in the ‘Special Offers’ folder.
Once you enter all the information you needed, click on the green check mark on the top left corner, the message ‘rule updated’ will show.